How to Make a Gift Bag Out of Wrapping Paper
Project Overview
•Working Time: 15 - 20 mins
•Total Time: 15 - 20 mins
•Skill Level: Beginner
•Estimated Cost: $10
•Yield: One bag
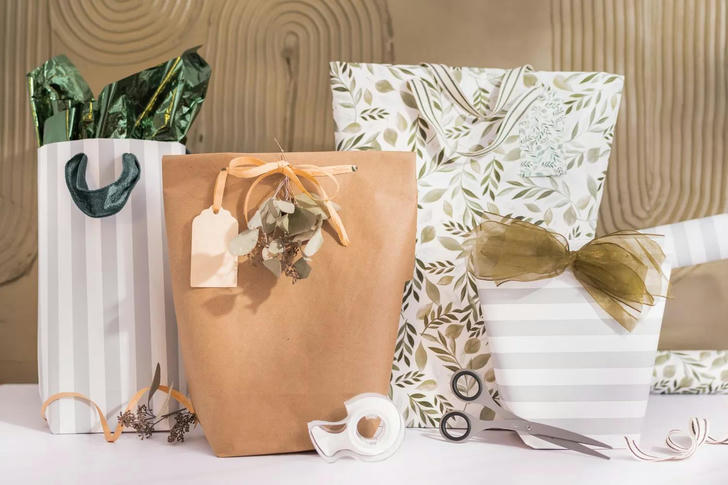
Make your gift-giving even more special by crafting your own gift bags out of wrapping paper. Not only does handmade packaging make unwrapping a gift more exciting, but it also adds a personal touch. Whether you're scrambling to wrap a gift last minute or want to add a DIY twist, here are two easy methods to create your own gift bag from wrapping paper.
What You'll Need
Equipment / Tools
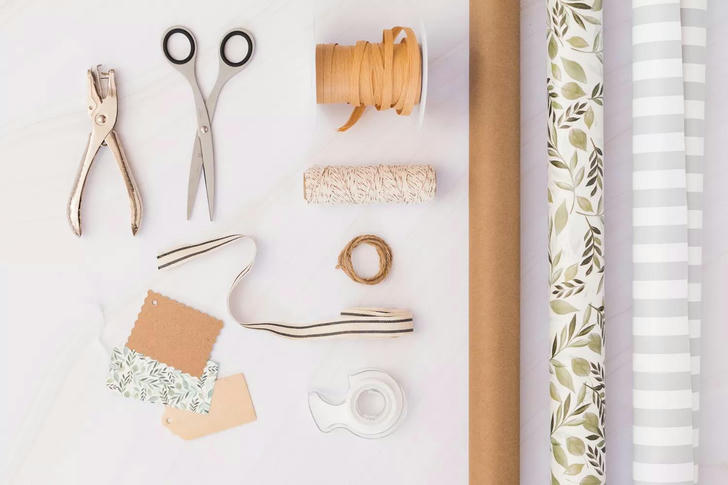
•Scissors
•Hole punch
Materials
•Wrapping paper
•Clear or double-sided tape
•Ribbon/twine
•Gift tag (optional)
Instructions
Brown Paper Bag Style Gift Bag
Create a simple, charming gift bag in the style of a classic brown paper bag with these straightforward steps.
Measure the Gift
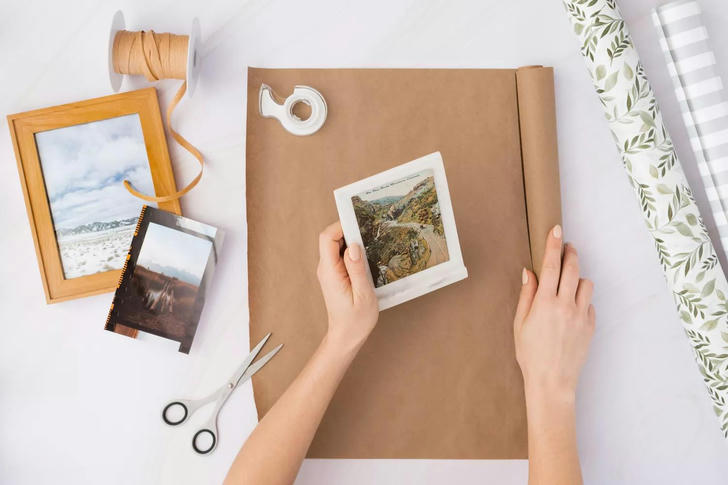
Begin by laying your wrapping paper flat on a large surface and placing your gift on top. Measure how much paper you need, then cut it accordingly. Set your gift aside to start constructing the bag.
Tape the Bag
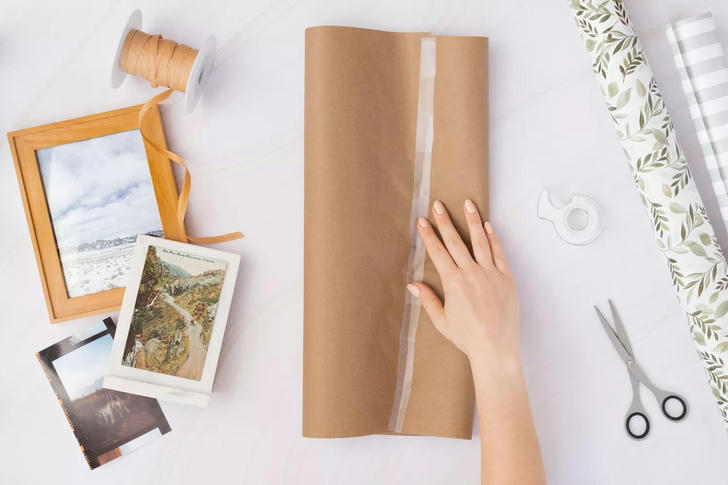
With the wrapping paper face down, fold the right and left sides towards the center, ensuring there's enough overlap. Press to create a neat fold. Use clear or double-sided tape along the entire length of the seam to secure it.
Fold the Bottom of the Bag
To form the base of the bag, fold the bottom of the wrapping paper up. Make sure to fold it high enough so the bottom is wide enough to accommodate your gift.
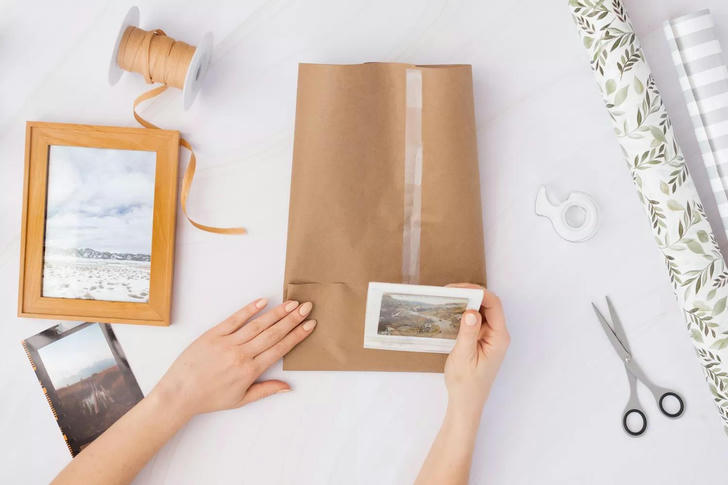
Create a Triangle
Open up the bottom section you just folded, forming a shape similar to an open mouth, and flatten the corners. You should now have a triangle-shaped bottom.
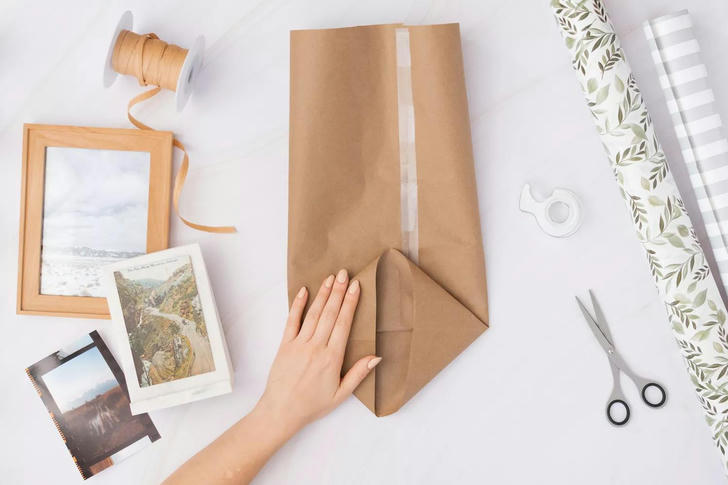
Secure the Bottom
Fold the edges of the triangle towards the center, overlapping them slightly. Press down firmly to create neat folds, then secure everything with tape.
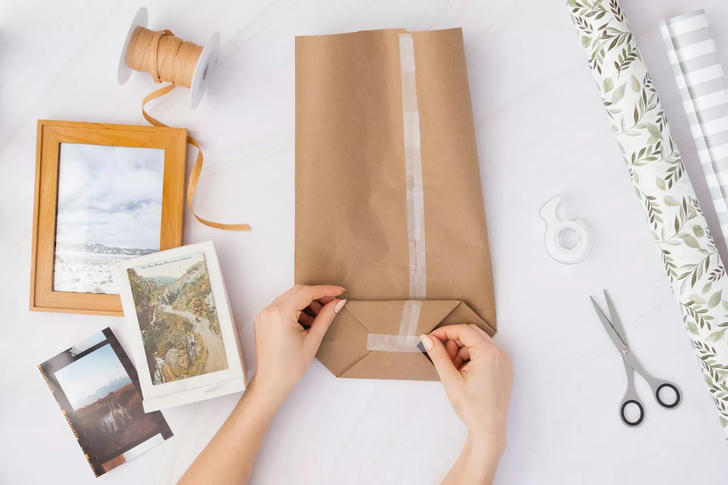
Open the Bag
Your gift bag is almost ready! Open it up and stand it upright. If needed, reinforce any inside folds with extra tape for stability. Place your gift inside.
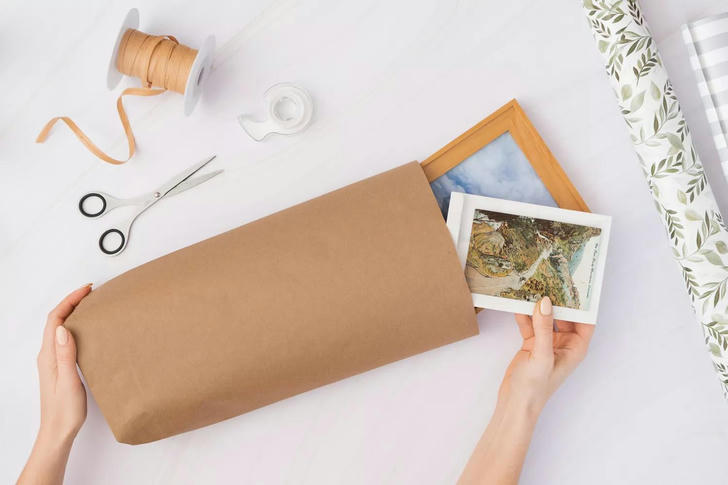
Finish with a Bow
To add a decorative touch, fold the top of the bag down about 1-2 inches. Use a hole punch to make two holes about an inch apart, then loop ribbon or twine through the holes. Tie a bow and add a gift tag if desired.

Gift Bag with Handles
Follow these six steps to make a gift bag with handles that will make your present stand out.
Measure the Paper
Just like the first method, roll out your wrapping paper and place your gift on it to measure how much paper you’ll need. Cut it to size and set your gift aside.

Fold Down the Top
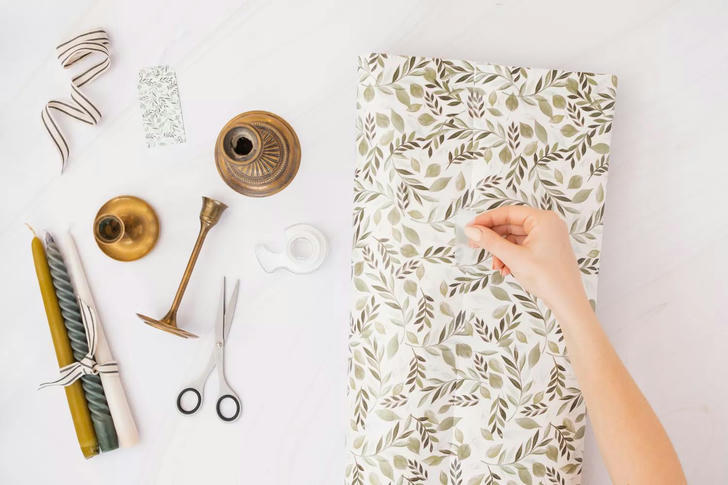
With the wrapping paper face side down, fold down about 1 inch along the top. Fold it down again and secure the seam with tape. This will form the top of your gift bag where the handles will be attached.

Tape the Seam
Bring the right and left sides of the paper towards the center, making sure there's enough overlap. Press down firmly for a clean fold. Secure the seam with tape.
Create the Base of the Bag
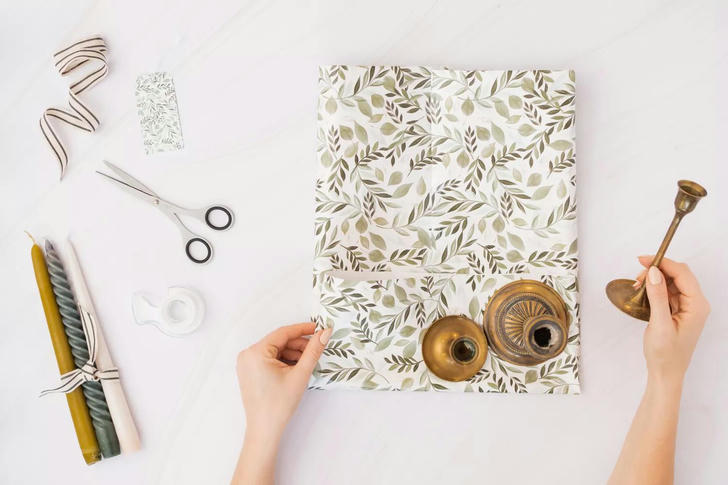
To form the bottom, fold the bottom section of the wrapping paper up far enough to create a wide base that can hold your gift. Then, unfold the bottom and fold it down, flattening the corners. The bag should now have a triangular base.
Secure the Bottom
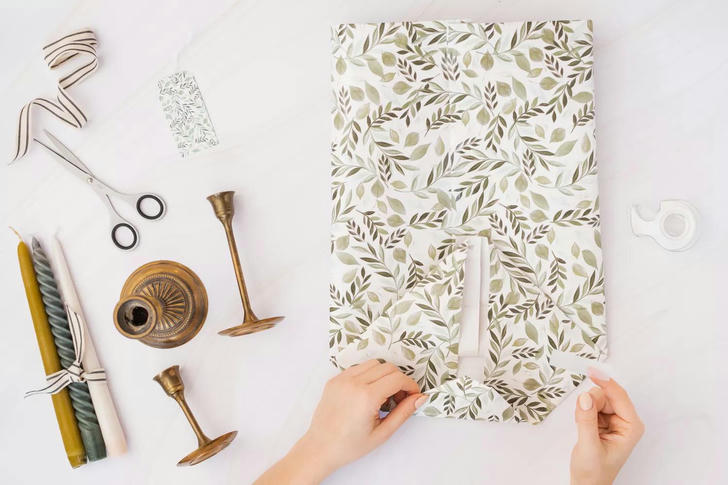
Fold the ends of the top and bottom triangles toward the center, overlapping slightly. Press down firmly to create neat folds, then secure the seams with tape.
Attach the Bag Handles
Stand the bag up and use a hole punch to make two holes in the folded top part of the bag, one on the front and one on the back. Cut two pieces of ribbon, one for each handle, and loop them through the holes. Tie knots inside the bag or tie the ends of the ribbons together to secure them. Repeat for the second handle.
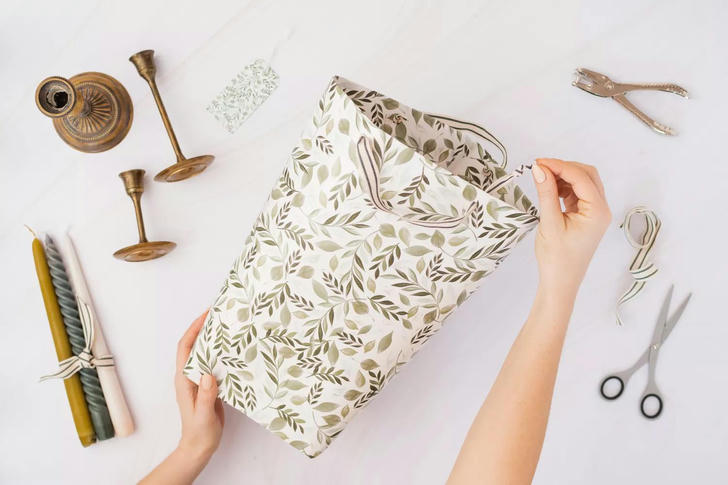
Now you’ve created a custom, stylish gift bag that will impress anyone who receives it!
