How to Make Homemade Soap with Cold Processing

Ever notice how we hardly give a second glance at soap descriptions when picking them up? We're all about the brand, aren't we? With so many options out there, figuring out the perfect soap can be a bit of a puzzle.
But hold up! Here's a little insider tip: Not every bar claiming to be soap is the real deal. Some are slyly labeled as beauty bars or body bars, meaning they've got a dose of detergent chemicals to amp up that foam action.
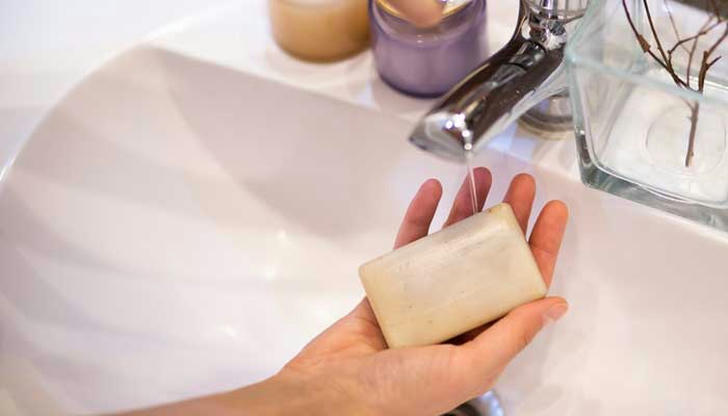
Alright, here's the lowdown on why those mainstream soaps might not be your skin's best buddy. Look out for the cool kids in the soap world – the cold processed soaps. Can't find 'em on the shelves? No worries, you can whip up your own batch at home with a soap-making kit. Intrigued? Let me spill the deets on what makes cold processed soap the superhero of skincare.
What is cold processed soap?

Alright, let's break down the soap-making magic! So, saponification, the secret sauce of soap creation, is this cool chemical dance between lye and fat. Lye, derived from wood ashes, takes center stage in our soap opera.
To whip up your homemade batch, gather these squad members:
Distilled water
Lye flakes
Oils (think olive, coconut, or any other moisturizing superstar)
Fragrance & color for that extra flair
Optional additives like flower petals for some Insta-worthy vibes
Now, gear up with:
Plastic vessel with a lid
Soap pot
Stick blender
Molds for your soap stars
Safety goggles and gloves (safety first, folks!)
Kitchen scale, glass pitcher, measuring cups, thermometer, spoons - the whole shebang
Mason jar with a lid for that added kitchen chic
Here's your step-by-step backstage pass to soap stardom:
Mix distilled water and lye in a glass pitcher, keeping it splash-free with a trusty stick blender.
Let that mixture chill with the lid on, finding its zen in a stable spot.
Heat up your oils in a soap pot on medium flame (we're talking 110°F here).
Cool your jets till the oil hits 100°F, then invite the water and lye mix to the oil party.
Watch the clouds form in the oil (cool, right?), then blend like there's no tomorrow to kick off saponification.
When you've got a thick mix, throw in fragrances, and whatever else floats your soap boat – herbs, petals, you name it.
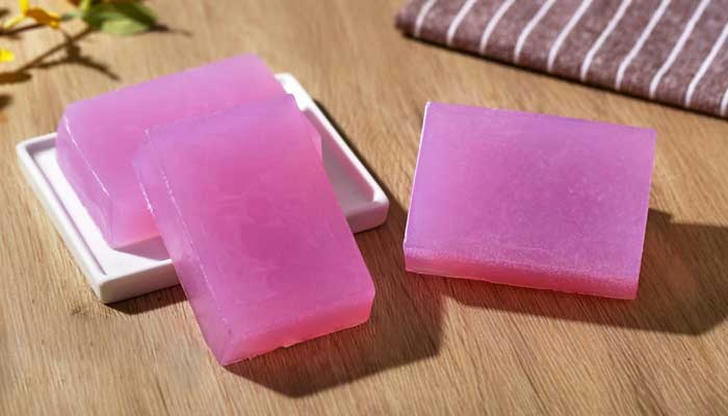
Time to add some color to this canvas! Mix it in, pour the concoction into molds, and let it cool for a soap siesta (24 hours should do).
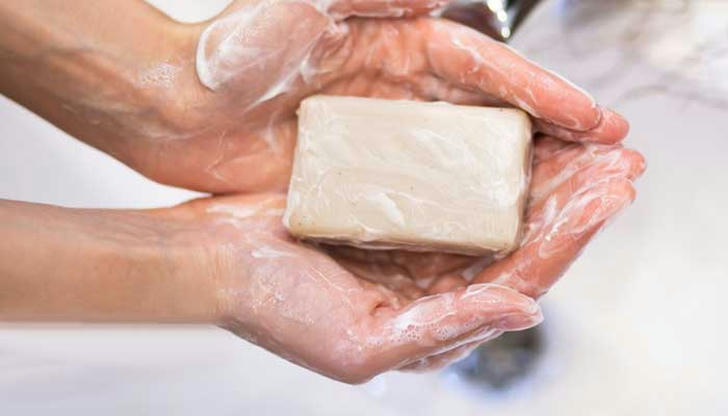
Pop those babies out, and voila – your homemade soap is ready for its close-up! Cut it down to size if needed.
And there you have it, your backstage pass to crafting soap like a boss!
Advantages of using homemade soap made with cold processing

Delicate on the skin with a smooth sensation When utilizing a cold process soap-making kit, the resulting soap boasts a creamy texture that becomes apparent during your bathing experience. In contrast, soaps infused with harsh chemicals tend to generate excessive foam, although their texture feels more natural.
Sufficient moisturizing components In comparison to bath bars or beauty bars, cold processed soap preserves a higher concentration of moisturizing elements. It proves to be skin-friendly, ensuring the maintenance of healthy skin even during the winter months. For those grappling with dry skin issues, these soaps present an ideal solution.
Awareness of ingredients added Market-available soaps often make claims of being skin-friendly and containing natural components. However, trusting these assertions can be challenging. Crafting your soap at home provides you with the knowledge of the exfoliating agents and fragrances incorporated into the product.
Access to homemade soap-making kits online Procuring a DIY soap-making kit from a reputable online supplier offers the convenience of obtaining all necessary ingredients in precise quantities, accompanied by straightforward preparation instructions.
